There are many dungeons in Baldur’s Gate 3, but the Gauntlet of Shar is no ordinary dungeon. This area lies on the main path of Baldur’s Gate 3‘s second act, whether you stumble upon it naturally or get sent here. And the events that take place within will ultimately spur on the conclusion of this act, and the start of a new one.
Inside the Gauntlet of Shar in Baldur’s Gate 3, you’ll have to take on several trials to acquire Umbral Gems, which you eventually use to open the way forward towards the final chamber. These puzzles test different parts of your Baldur’s Gate 3 acumen, like stealth and combat. Heck, reading comprehension is on the table too. You’ll probably want to have Shadowheart in your party at all times too. As the resident Shar stan, she’ll want to partake in the trials, and the narrative tidbits are worth making space in the lineup if you aren’t already.
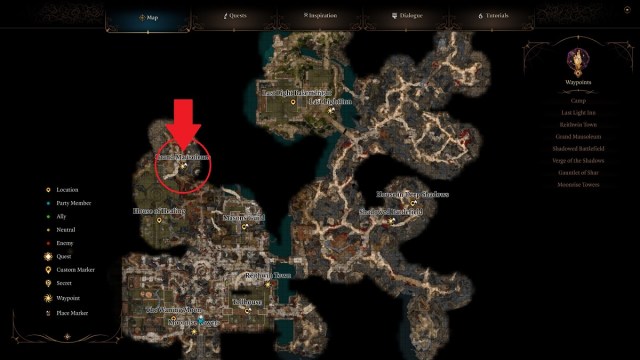
The Gauntlet of Shar is located at the Grand Mausoleum, shown below on the map, in the Shadow-Cursed Lands. You’ll need to complete the Thorm Mausoleum puzzle to gain entrance. You’ll also probably need some sort of greater protection against the Shadow Curse, either through a Moonlantern or the Pixie’s Blessing.
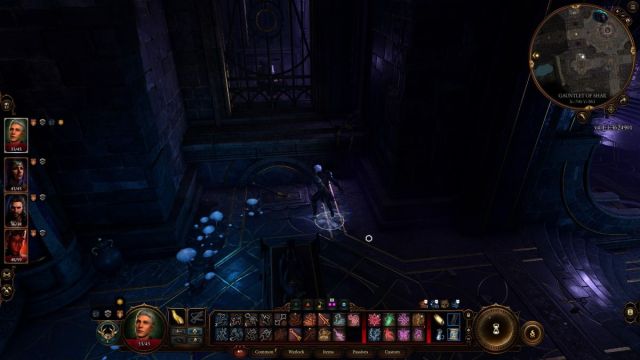
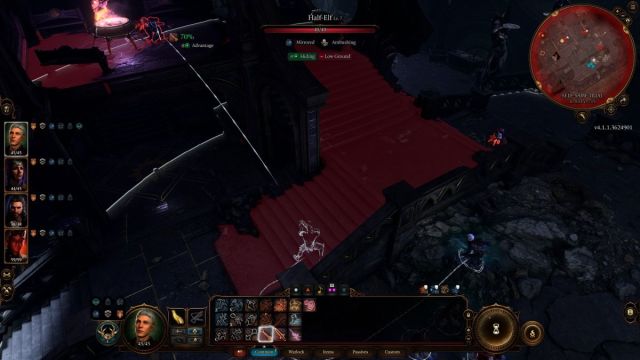
After you’ve gained entrance, you can descend down into the Gauntlet of Shar and tackle its first obstacle, surround a statue and some torches.
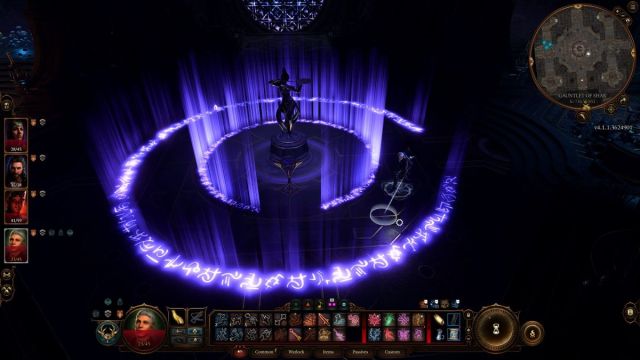
Statue puzzle solution
In this area, you’ll have a statue in the center you need to navigate around. It will send your character flying in comical fashion if you get close. You have to get into the four different corner rooms around the arena to hit a lever and drop torches, then interact with the torches to enshroud the place in darkness.
There are pressure plate traps on the floor, so keep an eye out. I recommend ungrouping (Shift+G) and having one character navigate this area by themselves. Remember you can hit levers from afar with a crossbow or other projectiles. Once the room is dark, a pattern will appear. Navigate through, without touching the circles, and interact with the orb on the statue.
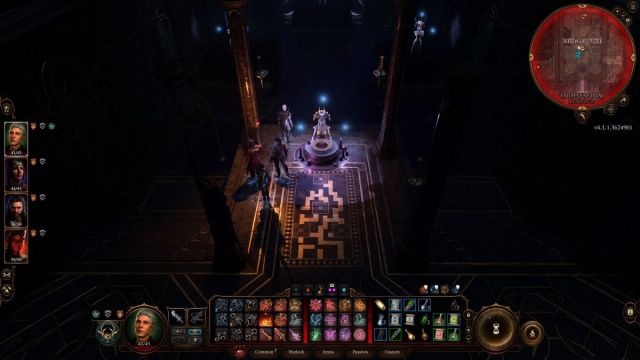
Congratulations! One puzzle down. In the next area, you’ll get into a set sequence of battles, as Dark Justiciars rise to attack and some mysterious undead aid you. Make sure to take out the portals that appear, as they’ll spawn more enemies unless you take them out. Work your way through the battles, and you’ll eventually meet Balthazar at his hideaway inside the Gauntlet of Shar.
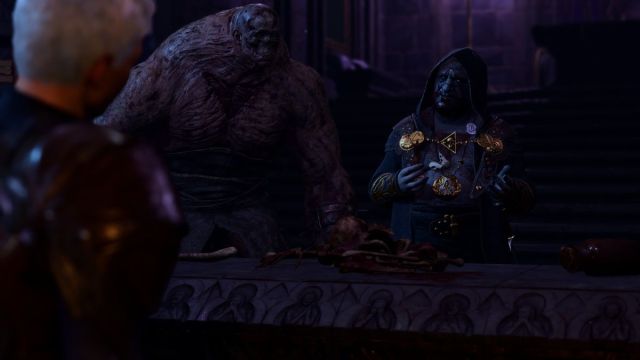
Depending on how you got in here, you may or may not know who Balthazar is. Either way, he wants your help in getting to the relic hidden away in here: the Nightsong. (That may also sound familiar, depending on the side quests you’ve done so far.)
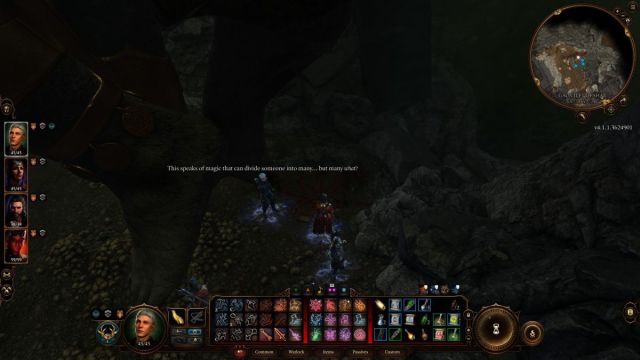
Whether you’re actually helping him or just using his assistance, you’re now free to roam the halls and find a path through. You’re going to need several Umbral Gems in order to advance, as well as a special piece of equipment. Gear up, and maybe get Misty Step equipped on some characters. It’ll come in handy more than once.
Dealing with Yurgir
The easiest place to get to right away is directly across from where you came in. Head back in the way you came and take the other fork, and you’ll find a destroyed, messy area. You’ll know you’re heading the right way if you see a Displacer Beast leading you along.

If you follow it, you’ll eventually encounter Yurgir. Raphael, the tricky devil, warned you about this guy before you walk in the door of the Mausoleum. And yes, he is an absolute beast.
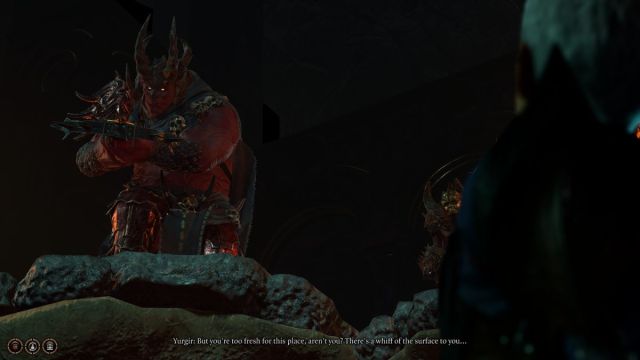
You can try fighting him and his small army, though it’s a very difficult fight at this point in the game. You can also try talking it out. But might I recommend a different and altogether stranger path?
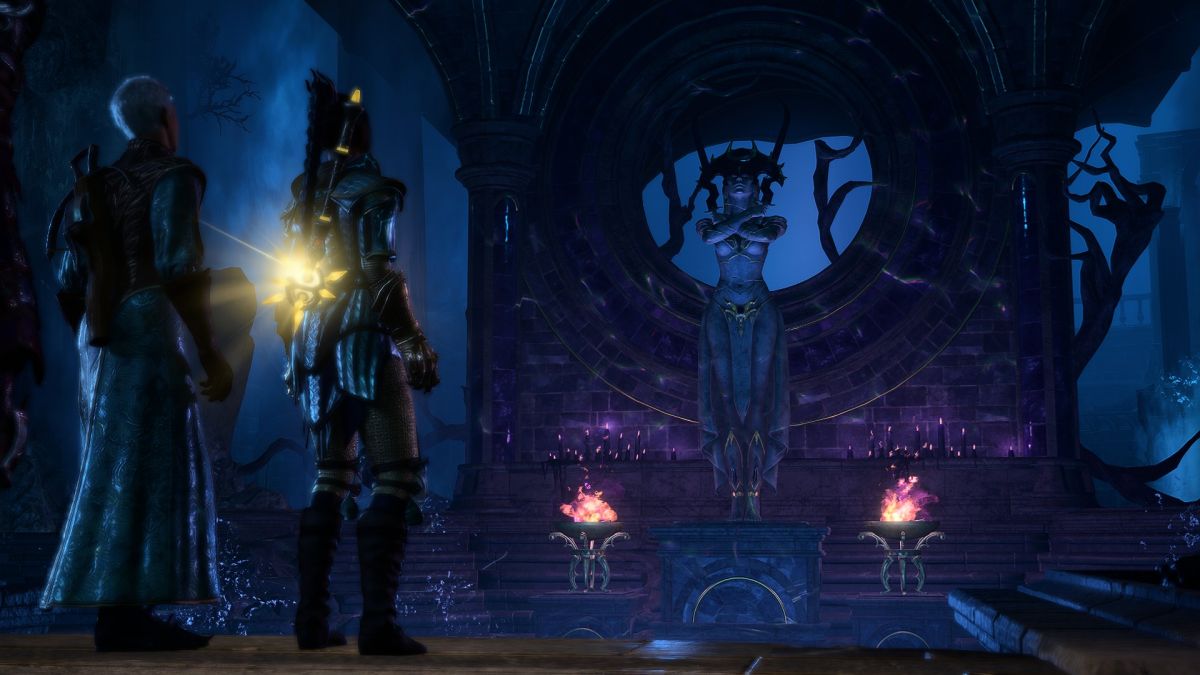
Instead of going over to Yurgir, head back and out, and start to navigate down the stairs of the Gauntlet of Shar in Baldur’s Gate 3, until you’re on the lowest floor. You’ll see some craggy rocks you can descend down, to get to the base of the massive Shar statue in the center. Head over near the foot, and you’ll find a ritual circle.
Interact with some of the items here, and you’ll find a rat. Fight the rat, and even more rats will show up. Don’t worry about this, just start squashing them with as many AoE attacks as you have. They’re all fairly low health, so just swinging and spell-slinging will win out. The rats will reconstitute back into a man—a Dark Justiciar named Lyrthindor. This dude was actually just a bunch of rats.

Anyways, he won’t be happy about his new form, and he’ll fight you. Take him out, then head back to Yurgir. It turns out he couldn’t complete his contract because Lyrthindor was running around as a bunch of rats. Raphael will show up and you can encourage the two to negotiate a new contract. They both disappear, and you’re free to take the Umbral Gem and the spoils. Easy!
Now head back towards Balthazar’s and out along the rows of rooms that overlook the Shar statue. These trials will also offer Umbral Gems, and you’ll need to spill blood (or let Shadowheart eagerly do so) at each, then complete their task.
Soft-Step Trial puzzle solution
This is a maze patrolled by shadows, where you will need to sneak around, disarm traps, and not get caught. It’s Metal Gear Baldur. There are a few advantages you can give yourself. First off, ungrouping and going with just one person is absolutely the only way to go. And despite Shadowheart’s insistence in partaking of the trials, you should probably send someone sneakier, like Astarion.
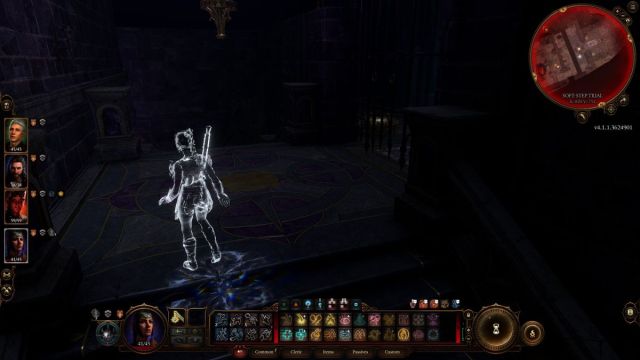
You can use invisibility and other tools, and there are some shortcuts you can open along the way. If you get caught, you get bounced back to the beginning. Remember that Misty Step I told you to lock in? You can also use that to bypass many things, including the obstacles and gate barring you from the Umbral Gem.
Self-Same Trial puzzle solution
Walk in prepared to fight, as this will require you to defeat an exact replica of your own party. There’s a twist, too; characters will receive a debuff that reduces their stats if they attack someone who isn’t their reflection.
My suggestion? Ignore that. Just beat the bajeezus out of your team how you see fit. The debuff goes away after a Long Rest, which you can take after dumping all your spells on these hapless projections.
You know your own team better than anyone, so dismantle it like only you can. Get the Umbral Gem, as well as a really useful ring that lets you get some free crits for taking out enemies.
Faith-Step Trial puzzle solution
I won’t lie, this one’s a bit easy. You’ll enter a dark room, with a carving on the floor. This indicates the path you’ll have to take through the room to get to the other side, and towards another Umbral Gem.
You don’t really need that though, as even with a pretty standard brightness setting, you can make out the floor layout as you walk. I recommend doing it this way, as falling and dying is a real pain here. Misty Step also comes in clutch if you have Darkvision. That’s every Gauntlet of Shar trial in Baldur’s Gate 3 finished, and you’re ready for the finale.
You can also press the “O” key to get a better view of the area to make this even easier.
A detour for Shar’s spear
We’ve got our Umbral Gems, but before we head to the end, stop by the Silent Library. Some Dark Justiciars roam here, covered by a silencing field that negates spellcasting. Sneak your crew in, preferably one that can rely on martial arts over magical ones, and try to take out the silencer ASAP. Alongside the silent debuff, it also spawns enemies.

Once you’ve taken them all out, you can access the back area, where a circular disk with the Riddle of Night awaits. You’ll have to find the answer to its question among the books in the library. Simply find the one detailing what can kill the Nightsong, and place it in the receptacle.

You’ll gain access to some treasure and the Spear of Night, which will play an all-important role in the upcoming conclusion of the Gauntlet of Shar in Baldur’s Gate 3.
Make your way down
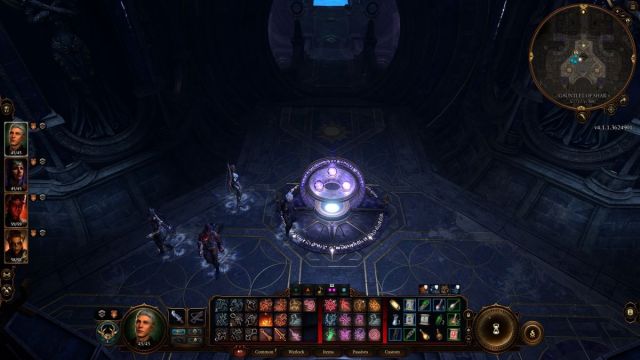
Head back to the entryway, where a round device sits. Place an Umbral Gem in, and you’ll be able to take a platform around and down to another landing, where another receptacle waits for more Umbral Gems. Deposit them, and the path forward will open.
At this point, if you have not completed the Mountain Pass and Githyanki Creche content, Lae’zel will express her frustration. Depending on your choices, you can convince her to stay, fight her, or let her leave. I highly, highly recommend you complete the Creche content; not just for its excellent gear, but it’s a really compelling story too.
Additionally, once you’ve reached the waypoint that opens up here, you’ll want to double-back and take care of any lingering side quests. The events that happen from here on out can radically change the game state. You’ll want to drop a save down and finish any side quests, including Thaniel’s Shadow Curse content.
Otherwise, head towards the pool and gear up to deal with the conclusion. You’re all done with the puzzles of the Gauntlet of Shar in Baldur’s Gate 3.